Laptop Setup Help in Reading: Getting Your New Laptop Ready to Use
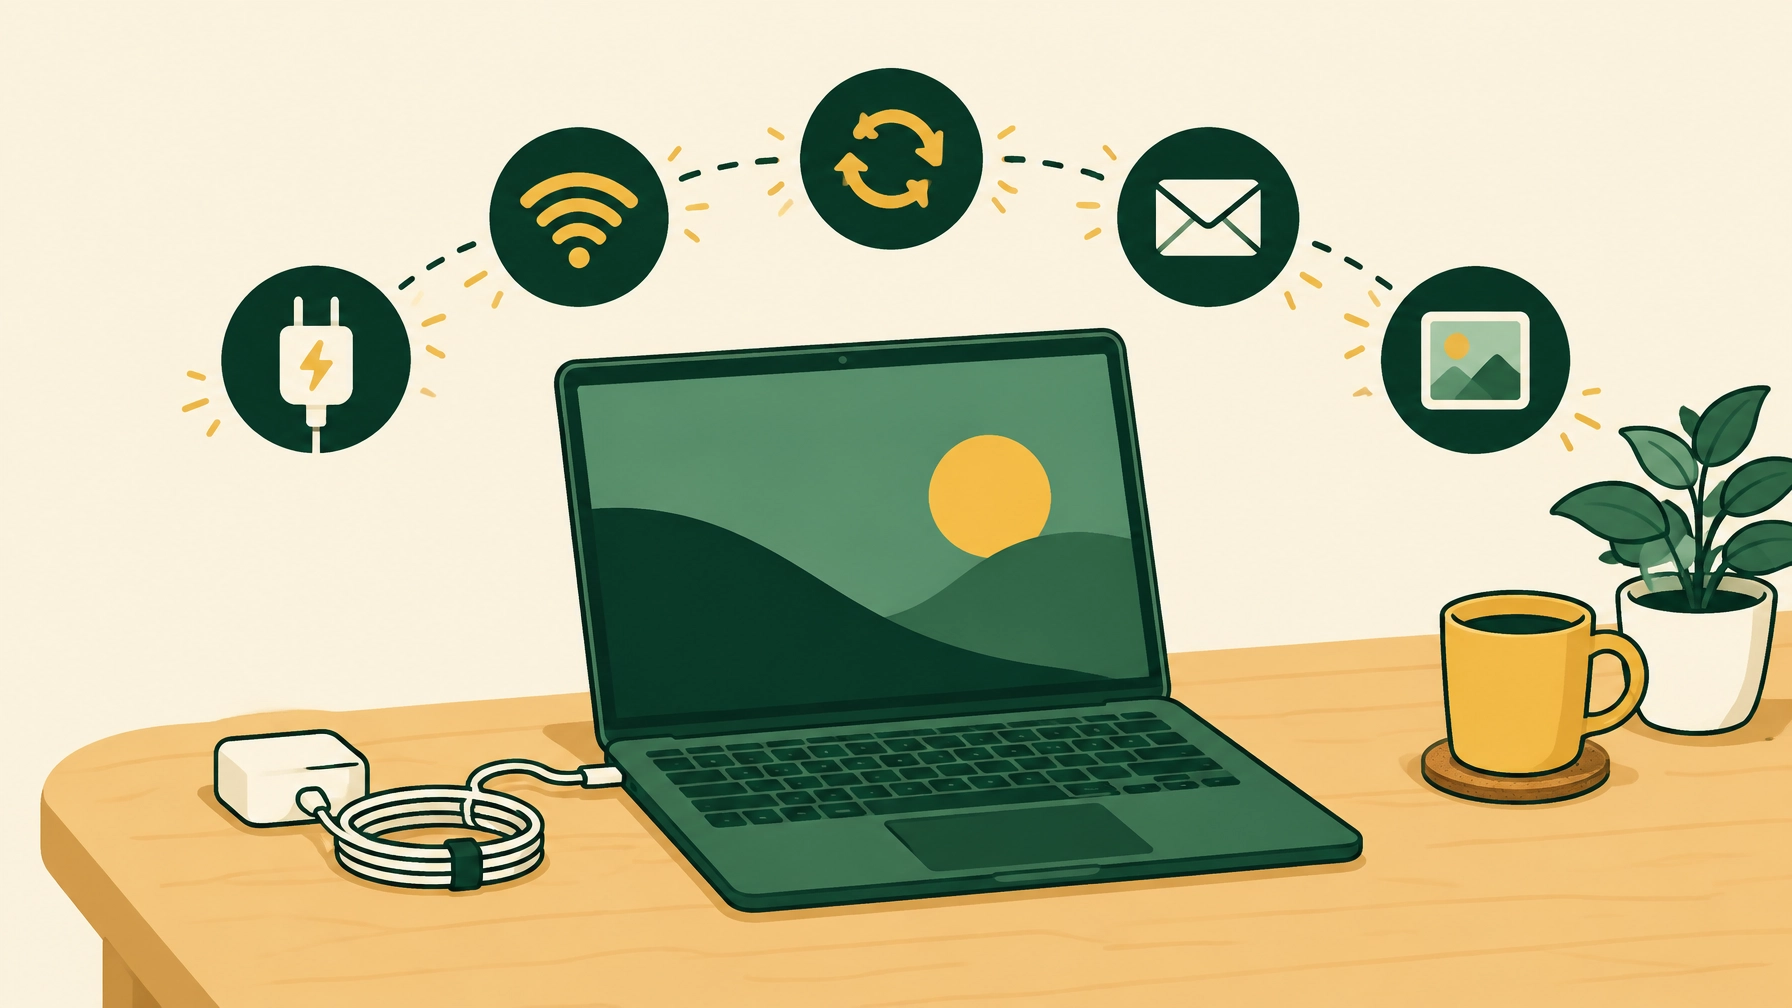
Getting a new laptop ready can feel like a lot to take in. There are accounts to create, passwords to remember, updates to install and files to find.
The good news is that you do not have to do everything at once. A calm, staged setup is usually easier than trying to make the laptop perfect on its first day.
This guide is about the first day and first week with a new laptop. It is not a full computer course. It is a practical checklist to help you get started with the essentials, whether the laptop is for you or you are arranging it for a parent or relative.
There are no silly questions. If a step looks different on your screen, that does not mean you have done anything wrong.
Start With the Physical Setup
Before switching the laptop on, give yourself a comfortable place to work.
1. Unbox and charge the laptop
- Put the laptop on a stable table near a power socket.
- Remove the packaging, but keep the box and paperwork for the time being.
- Use the charger supplied with the laptop.
- Connect the charger to the laptop, then to the wall socket.
- Look for a small charging light or battery symbol.
You can begin setting up while the laptop is charging. It is also sensible to keep the old computer nearby until you are sure that important files and photos have been moved.
Do not throw away the old device or reset it yet. You may still need it to check an email address, find a document or copy photos across.
2. Turn it on and choose the basic settings
Press the power button once and wait. The first start may take longer than usual.
The laptop will ask a series of questions. The exact wording depends on whether it is a Windows laptop or an Apple Mac, and which version it uses. You may be asked to choose:
- Country or region: choose United Kingdom.
- Keyboard layout: usually English (United Kingdom).
- Personal, home or work use: choose the option that matches your situation.
- Your name and a device account.
- Privacy and information-sharing choices.
Take your time reading each screen. You do not need to agree to every optional feature. If you are unsure, look for a clearly labelled “learn more” option or make a note to check it later.
If you are setting up a laptop for someone else, use their name and their own account where possible. Avoid creating a shared account that leaves them dependent on somebody else to sign in.
Connect the new laptop to home Wi-Fi
Wi-Fi is the wireless connection that links your laptop to the internet. You will normally need it during setup so the laptop can download updates.
3. Join your home network
Look for your home Wi-Fi name in the list of available networks. It may be printed on a label on your router or included in the paperwork from your internet provider.
Then:
- Select your Wi-Fi name.
- Choose Connect.
- Enter the Wi-Fi password carefully.
- Select Next, Join or a similar button.
The Wi-Fi password is not necessarily the same as your laptop password. If the password is difficult to read, check whether a capital letter, number or symbol has been entered correctly.
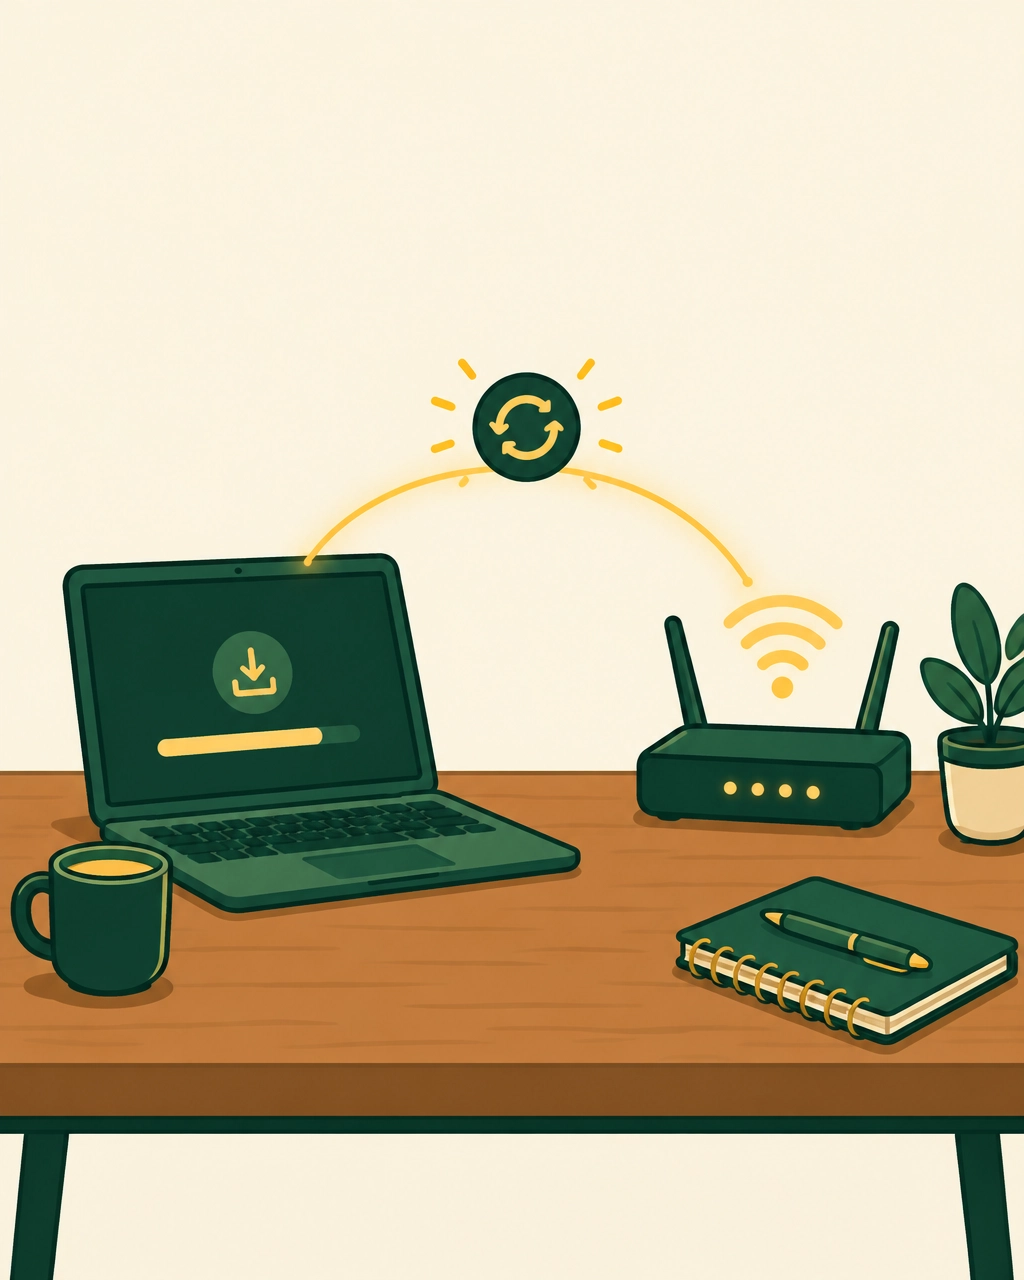
If the network does not appear, move closer to the router and check that the router is switched on. Do not press the reset button unless you know what it will do, as this can remove the router’s current settings.
Sign in without losing track of your accounts
A new laptop may ask you to sign in with a Microsoft account on Windows or an Apple Account on a Mac. This account can connect services such as email, cloud storage, app downloads and device backups.
4. Create or use the right account
If you already have the relevant account, use that account rather than creating several new ones. For example, an existing Outlook, Hotmail or Microsoft 365 account may already be a Microsoft account.
On a Mac, your Apple Account may be the same one used for an iPhone or iPad.
During setup, you may also be asked to create:
- A laptop password.
- A PIN for quicker sign-in on Windows.
- A fingerprint or Touch ID sign-in, if the laptop supports it.
Write down what you have created and store it somewhere safe. Never share a password, PIN or one-time verification code with someone who contacts you unexpectedly.
If a family member is helping, they should not need to know or keep your passwords, and they should not ask you for a code sent to your phone. They can guide you through the screen while you sign in yourself. The same applies to anyone helping you professionally — including me.
Install updates before doing too much else
A new laptop may have been sitting in a warehouse or shop for some time. It can need several updates before it is fully up to date.
An update is a package of improvements or security fixes for the laptop’s software.
5. Check for updates
On Windows, look in Settings for Windows Update and choose Check for updates.
On a Mac, look under Apple menu > System Settings > General > Software Update. Apple explains the current steps in Update macOS on Mac. The wording may vary by macOS version.
Allow the laptop to install the updates and restart if it asks. It may need to restart more than once. When it has finished, check again until there are no further important updates offered.
Microsoft’s Windows Update: FAQ and Apple’s Update macOS on Mac provide current instructions for their own systems.
Avoid clicking on a random pop-up that says your laptop needs an urgent update. Use the normal Settings area instead.
Set up email carefully
Email is often one of the most useful things to set up first. It can also be connected to password resets and security alerts for other accounts.
6. Add your email account
You can usually access email in one of two ways:
- Through a web browser, such as Edge, Chrome or Safari.
- Through an email app, such as Outlook or Apple Mail.
A web browser is the app you use to visit websites. You do not need to use several browsers. Start with one that is already installed.
To add email to an app, open the app and look for Add account, Accounts or Mail settings. Choose your email provider and follow the official sign-in screen.
Some accounts ask for a verification code sent to your phone. Enter the code only into the genuine setup screen. Never read it aloud or send it to another person.
If you are unsure which email address or provider to use, check the old laptop or phone before creating anything new.
Move your documents and photos
There are several ways to move files from an old computer. The best option depends on how much you have and whether the old device still works.
7. Choose one simple transfer method
You might use:
- An external USB drive to copy documents and photos.
- Cloud storage, such as OneDrive or iCloud, if your files are already stored there.
- A transfer tool supplied by the laptop manufacturer.
- A trusted person or technology support professional to help organise the move.
Start with the files you use most often:
- Family photos.
- Important documents.
- Personal letters.
- Spreadsheets.
- Downloaded forms.
- Folders from the Desktop and Documents areas.
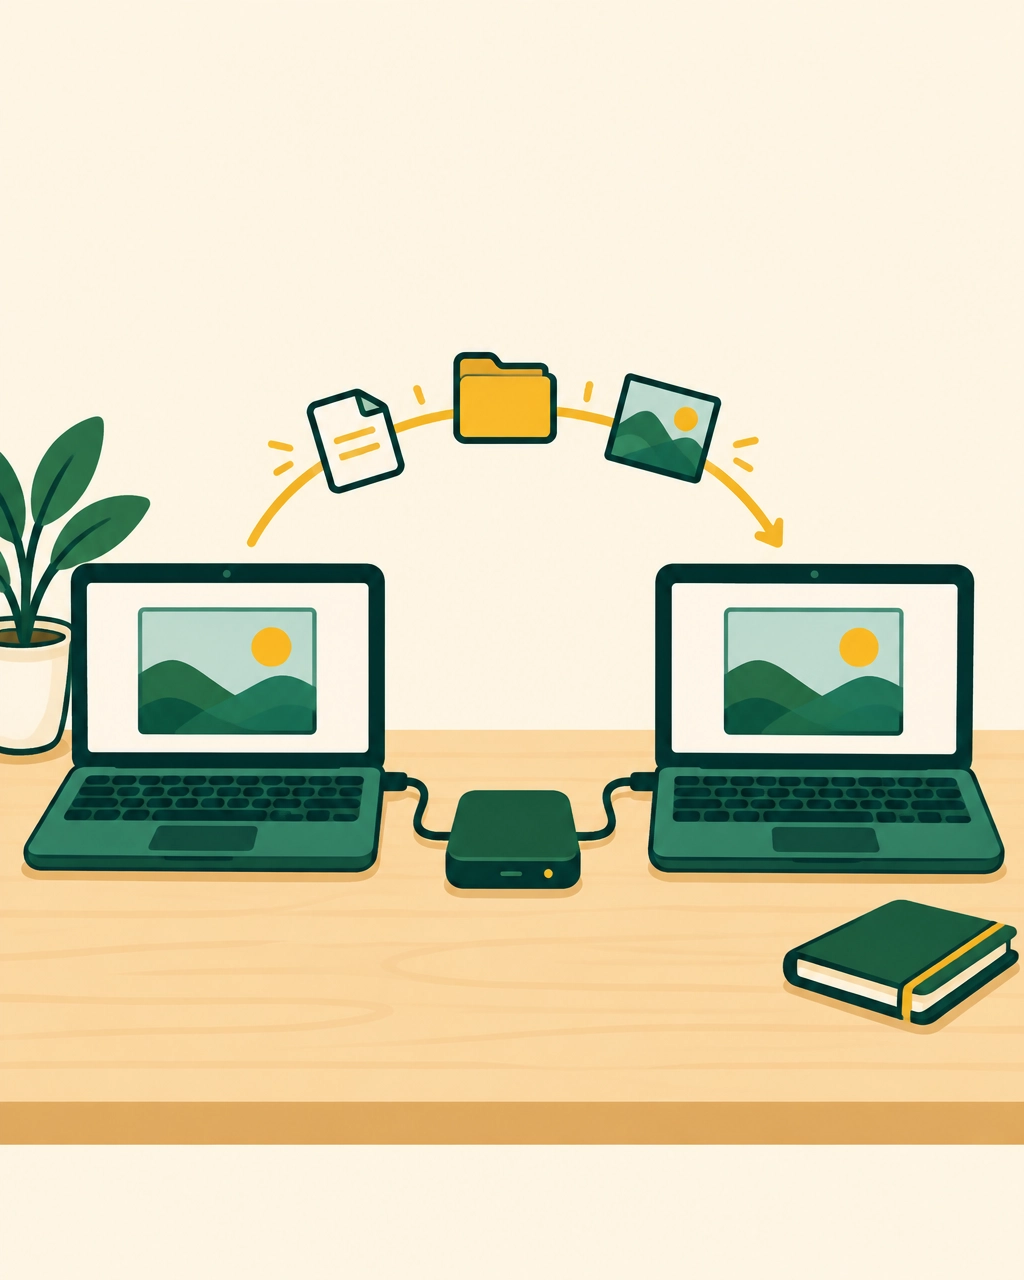
Do not assume that every file has transferred just because a folder appears on the new laptop. Open a few documents and photos to check them. If possible, keep a second copy until you are satisfied that everything important is present.
You may also need to sign in to cloud storage before your files appear. If you see unfamiliar choices about deleting or replacing files, stop and check first.
Make the screen comfortable to use
This is not about changing every accessibility setting. A few small adjustments can make the first week more comfortable.
8. Adjust the basics
Look for settings for:
- Text size or display scaling.
- Screen brightness.
- The size and colour of the mouse pointer.
- The speed of the mouse or trackpad.
- Night light or warmer screen colours.
Increase one setting at a time, then check whether it feels better. If everything becomes too large or difficult to use, you can change it back.
Lady Techy’s guide to making text bigger may be useful if small writing is tiring to read. More detailed accessibility support can be considered later, once the laptop’s basic setup is complete.
Learn a few browser and password habits
You do not need to memorise every feature of the browser. Begin with a few basics:
- The long box near the top is where you can type a website address or search.
- A tab is another page open in the same browser window.
- The back arrow returns to the previous page.
- A bookmark saves a useful website for later.
When a website asks whether to save a password, pause and think about who uses the laptop. A built-in password manager can be useful, but it should be protected by the laptop password or another sign-in method. If you write passwords down instead, keep the note somewhere private rather than beside the computer, and never send one by email or message.
Use different passwords for important accounts, particularly email and online banking. Longer passwords made from several unrelated words can be easier to remember than a short complicated one.
For more general guidance, see the National Cyber Security Centre’s password guidance, or Lady Techy’s online safety advice for older adults.
Complete a few first-week checks
Once the main setup is finished, test the things you expect to use regularly.
9. Try the basics
Check that you can:
- Sign in and lock the laptop.
- Connect to the internet.
- Open your email.
- Find a document and a photo.
- Open a website safely.
- Adjust the volume.
- Shut down or restart the laptop.
- Connect your printer, if you have one.
For printer setup, you may find Lady Techy’s printer help at home useful.
Do not install lots of extra programmes straight away. Add applications gradually, using the Microsoft Store, Mac App Store or the official website for the software. Be cautious of websites offering unexpected “cleaners”, “speed boosters” or urgent virus scans.
A laptop does not have to be perfect on its first day. It is often better to become comfortable with the essentials before adding more.
When setting up feels too much
A new laptop can involve several different jobs at once: device setup, Wi-Fi, accounts, email, files, photos and online safety. Feeling overwhelmed does not mean you are bad with technology. I provide patient, one-to-one technology support in Reading and the surrounding Berkshire area, with home visits and remote support where suitable. Support can also be arranged by a family member for someone they care for.
You can find more information about Lady Techy, including the wider range of personal technology support available.
If you would like calm guidance with the first steps, you can book a free 15-minute chat and explain what you would like help getting ready.