How to Delete Downloads and Tidy Old Files on Your Computer
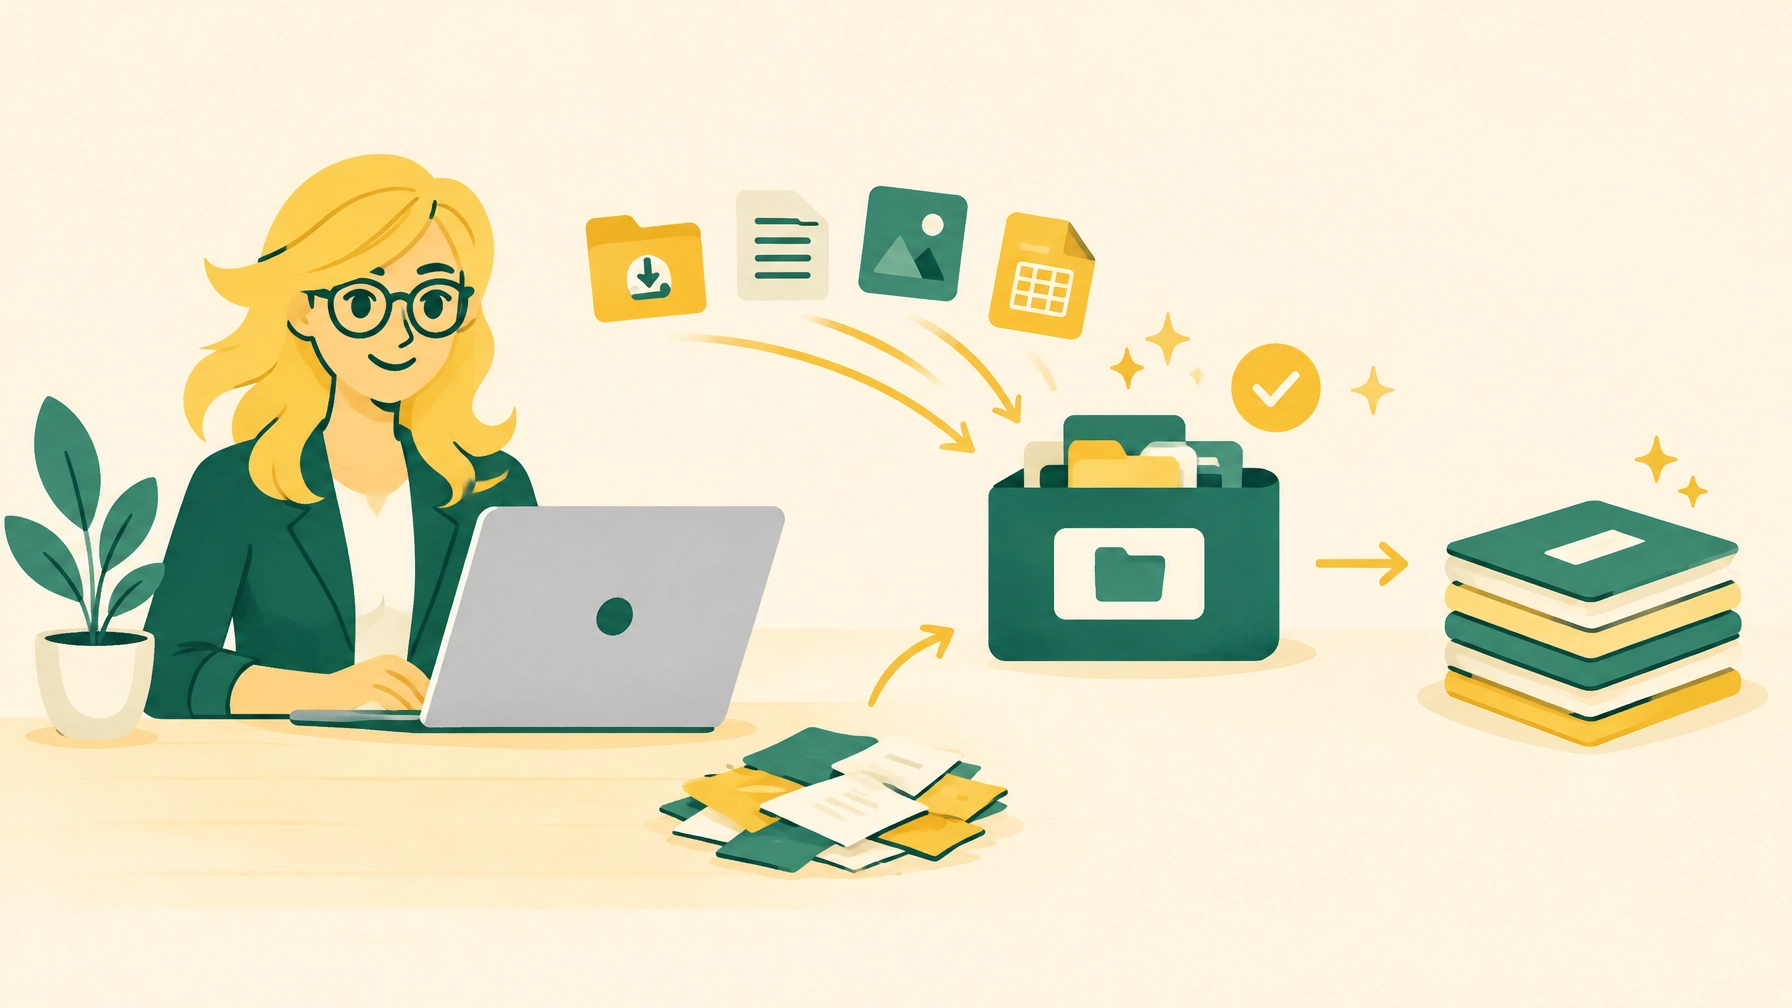
A crowded Downloads folder can make it harder to find the file you actually want. It may also take up space on your computer. The good news is that you can tidy it a little at a time, without deleting anything you still need.
The key is to check each file before you remove it. Never delete anything you don’t recognise without checking what it is. Keep files you may need for things such as tax, insurance or important records, and don’t try to delete system files. If you’re unsure, leave a file where it is.
What is the Downloads folder?
The Downloads folder is where many computers save files you get from the internet, such as documents, pictures and attachments. It can also contain copies of files you have downloaded more than once.
It’s worth taking a look, but don’t assume everything in it is disposable. A file might be the only copy of an important document, or something you downloaded because you need it for a particular task.

How to delete downloads safely
Start with a small batch, such as a few files you recognise. You don’t need to clear the whole folder in one go.
On a Windows computer
- Open File Explorer. You can usually find it on the taskbar, or search for it from the Start menu.
- Choose Downloads from the left-hand menu. If you don’t see it, look under This PC.
- Look at the file names and, if helpful, select View > Details to see more information. You can sort by Date modified or Size to help you review what is there.
- Open any file you’re not sure about, if it is safe and appropriate to do so. Check that it isn’t something you still need.
- Select only the files you’re certain you no longer need, then choose Delete.
Windows moves most deleted items to the Recycle Bin first, rather than removing them permanently. You can restore a file from there if you change your mind, as long as you haven’t emptied the bin.
On a Mac
- Open Finder.
- Choose Downloads from the Finder sidebar. You can also use Go > Downloads from the menu at the top of the screen.
- Review the files carefully. You can use Finder’s view options to see details such as file name, date and size.
- Select only files you know you no longer need, then move them to the Bin. In Finder, you can also select a file and press Command-Delete.
Items moved to the Mac Bin are not permanently deleted until you empty it. Apple explains the steps in its guide to deleting files and folders on a Mac.
Menu names and layouts can vary a little between Windows and macOS versions. If your screen looks different, pause rather than guessing.
Check before you delete
File names aren’t always clear, and a file that looks old may still matter. Before deleting, ask yourself:
- Do I recognise what this is?
- Is it the only copy of a document, photo or other file I want to keep?
- Could I need it for tax, insurance, a purchase, work or another important matter?
- Is it stored in a cloud-synced folder, such as OneDrive or iCloud Drive?
If you aren’t sure, don’t delete it yet. In a cloud-synced folder, deleting a file may also remove it from your online account or other connected devices. If you don’t know whether a folder is synced, leave it alone until you’ve checked.
Some downloads are installation files for apps or programmes. Don’t delete one just because it looks technical or unfamiliar. If you’re sure you no longer need it, and the programme is already installed, you may decide to remove it, but there’s no need to take a risk when you’re uncertain.
Make a folder for files worth keeping
If you find useful files mixed in with old downloads, move them somewhere you’ll remember rather than leaving everything in Downloads.
For example, you could create a folder called Keep – check later or Important documents in a place you already use, such as Documents. Make subfolders for categories such as Tax, Insurance or Receipts if that would make things easier to find.
To move a file, select it and use Cut and Paste, or drag it into the folder. Take care when moving items in a cloud-synced folder, as changes may appear on your other devices too. If you’re uncertain, keep the file where it is until you know where it belongs.

Empty the Recycle Bin or Mac Bin
Deleting files may not free up storage immediately. On Windows, deleted files usually remain in the Recycle Bin; on a Mac, they remain in the Bin. That gives you a chance to recover something you removed by mistake.
Before emptying it, open the bin and check its contents. If there’s anything you might need, restore it or leave it there. Emptying the bin is the step that permanently removes its contents from your computer, so do this only when you’re happy that nothing needs to be kept.
- Windows: Right-click the Recycle Bin and choose Empty Recycle Bin.
- Mac: Open the Bin and choose Empty Bin. The wording may vary slightly by macOS version.
Once the bin is emptied, you may not be able to get those files back using the normal restore option. Apple notes that items emptied from the Bin are permanently deleted. For more Windows storage guidance, see Microsoft’s instructions for freeing up drive space in Windows.
Will deleting downloads free up space on a laptop?
It can, especially if the folder contains large files such as videos or duplicate downloads. But removing a few small documents may make little difference. If your aim is to free up space on your laptop, you can sort by size and review the larger files first, without deleting anything unless you’re sure it can go.
You can also check how much storage is available in your computer’s settings. On Windows, look under Settings > System > Storage. On a Mac, open Apple menu > System Settings > General > Storage; the wording may differ in older versions. Lady Techy’s guide to checking why a computer is slow also covers checking available storage.
Avoid deleting system files or changing unfamiliar storage settings in an attempt to make more room. If you’re still short of space, it may be better to review other large personal files carefully or get help understanding what is taking up room.

A small tidy-up is enough
You don’t have to organise every file today. Reviewing a few familiar items, moving important ones to a clear folder and emptying the bin only when you’re certain can make the Downloads folder easier to use.
I’m Justine, and I provide patient, one-to-one software and everyday technology help in Reading and the surrounding Berkshire area. I don’t do physical hardware repairs. If you’d like help sorting through computer files at a comfortable pace, you can book a free 15-minute chat.